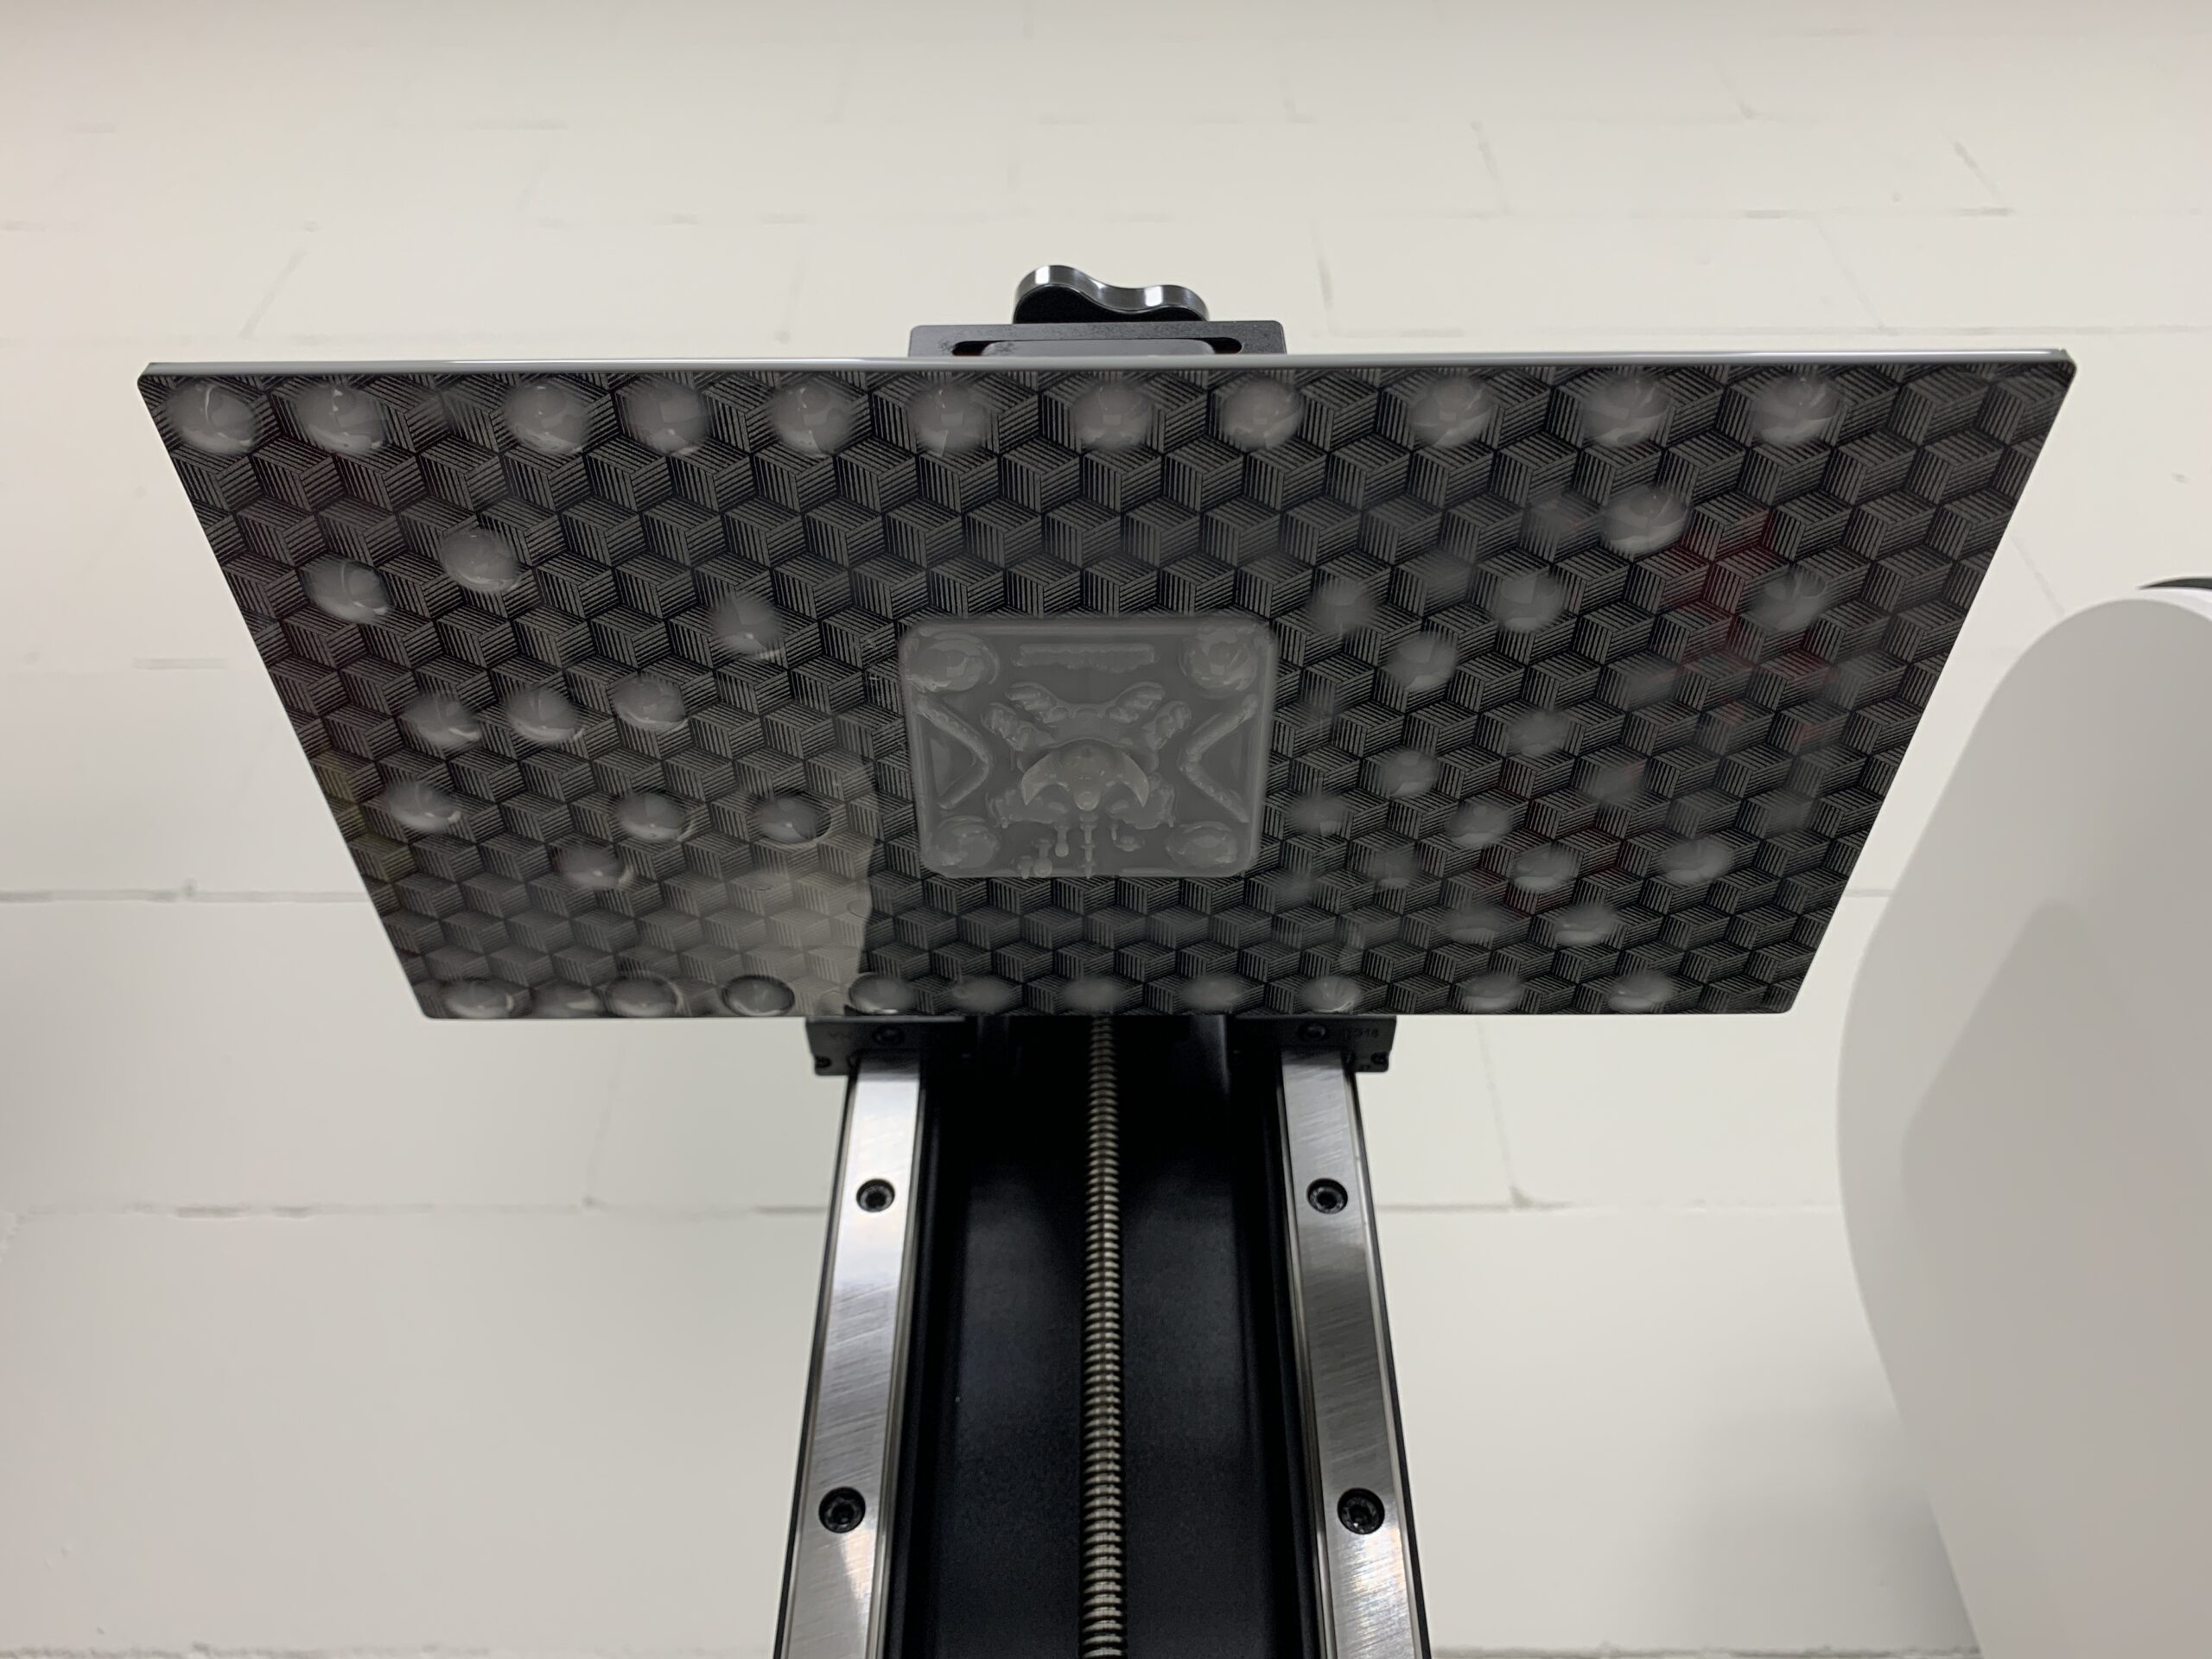
Calibrating the exposure time of a resin 3D printer is essential to ensure that your prints come out correctly. It involves finding the optimal amount of time that the printer’s UV light should be shining on the resin in order to produce the desired level of detail and strength. In this blog post, we will describe the process of calibrating exposure times for resin 3D printing.
Step 1: Choose the Right Resin
Before starting the calibration process, it is essential to choose the right resin for your project. Different resins have different properties, such as viscosity, curing time, and color, which will affect the exposure time required for a successful print. Be sure to select a resin that is compatible with your printer and is suitable for the type of object you want to print.
Step 2: Prepare Your Printer
Once you have chosen your resin, you need to prepare your printer for calibration. Ensure that the build platform is level and clean, and that the resin vat is empty and clean. Additionally, ensure that the printer’s firmware and software are up-to-date.
Step 3: Print a Test Object
Printing a test object is crucial to determine the optimal exposure time for your resin. For this, you will need a test object file, which is specifically designed to calibrate exposure times. The test object file usually consists of a series of small cylinders printed at different exposure times. You can download a test object file from various sources such as Thingiverse or Chitubox’s Calibration print.
Step 4: Configure the Slicer Settings
Once you have downloaded the test object file, you will need to configure the slicer settings. These settings include the exposure time, layer thickness, and print speed. The exposure time is the most critical setting, and you will need to adjust it to determine the optimal exposure time for your resin.
Step 5: Start Printing
Now that you have configured the slicer settings, you can start printing the test object. Be sure to set the exposure time to the lowest value first and then gradually increase it until you achieve a successful print. Monitor the print closely to ensure that the print adheres correctly to the build platform and that there are no print defects.
Step 6: Evaluate the Print
Once the print is complete, you need to evaluate it to determine the optimal exposure time. The evaluation process involves looking for any defects such as rough surfaces, overexposure or underexposure, and warping. Here are some additional details and steps for evaluating the print:
-
Examine the Surface Quality: Start by examining the surface quality of the printed object. Look for any rough or bumpy areas, as this can indicate that the exposure time is too low, and the resin has not cured correctly. Conversely, if the surface is too smooth or shiny, this could indicate that the exposure time is too high.
-
Check the Detail: Next, check the detail of the printed object. Look for any fine details that may be missing or have been overexposed. If the details are too fine or too small, you may need to adjust the layer thickness or print speed.
-
Check for Warping: Warping occurs when the printed object has warped or deformed during the printing process. This can be caused by incorrect exposure times or temperature variations during the printing process. Look for any signs of warping, such as curling at the edges or bending in the middle.
-
Check for Layer Adhesion: Finally, check for layer adhesion. Ensure that each layer has adhered correctly to the previous layer, and there are no gaps or holes. If there are any gaps or holes, it could indicate that the exposure time is too low or that the resin is not sticking correctly to the build platform.
-
Adjust the Exposure Time: Based on your evaluation, you can now adjust the exposure time accordingly. If the surface quality is too rough, increase the exposure time slightly. If the surface is too smooth or shiny, decrease the exposure time slightly. If there are any issues with detail or warping, you may need to adjust other slicer settings such as layer thickness and print speed.
-
Print the Test Object Again: Once you have made adjustments to the exposure time, print the test object again. Repeat the evaluation process until you have achieved the optimal exposure time for your resin.
By following these additional steps for evaluating the print, you can ensure that your 3D prints are of high quality and accurate.
Step 7: Repeat the Process
Repeat the process until you have achieved the optimal exposure time for your resin. This may take several attempts, and you may need to adjust other slicer settings such as layer thickness and print speed.
Step 8: Save the Settings
Once you have found the optimal exposure time, be sure to save the slicer settings. You can save the slicer settings as a new profile or override the default settings for the specific resin type.
Conclusion
Calibrating the exposure time of your resin 3D printer is essential to achieving high-quality prints. The process involves selecting the right resin, preparing your printer, printing a test object, configuring the slicer settings, evaluating the print, and repeating the process until you have found the optimal exposure time. By following these steps, you can achieve precise and consistent prints every time.

